


 Contact Us
 Appliances
 Agri Inputs
 Auto Components & Accessories
 Beauty & Personal Care
 Electronics
 Fashion
 Grocery
 Gift Cards
 Home & kitchen
 Health & Wellness
 Vehicles & Automotives
 Books & Stationary
 Pet Care
 Toys & Games


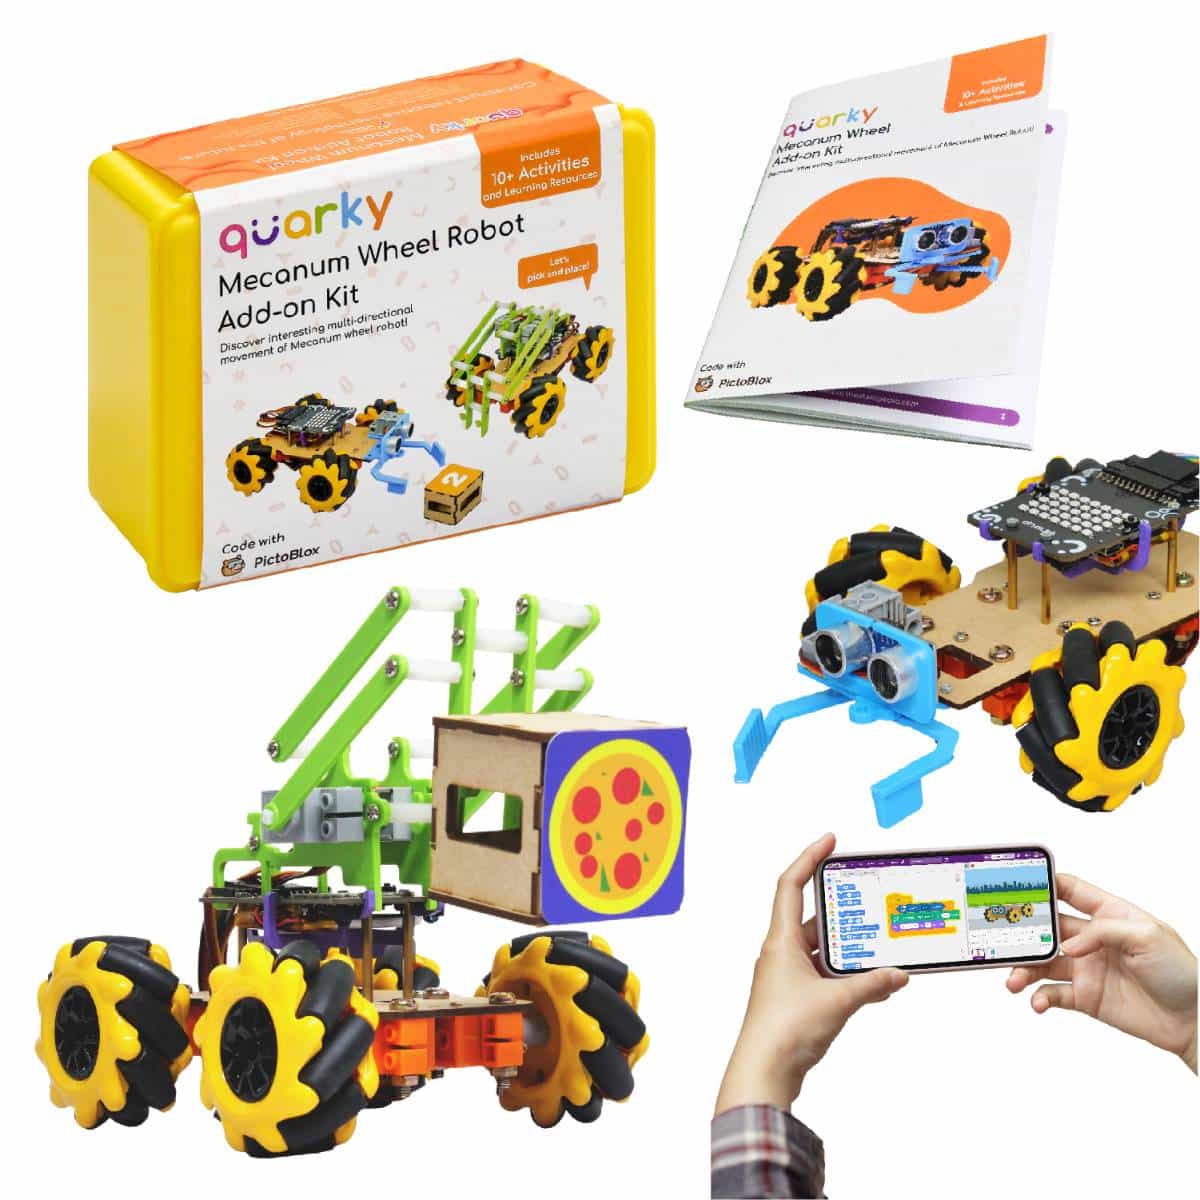
Make Multidirectional Robot with Mecanum Wheel Robot!
The Quarky Mecanum Wheel Robot features a unique type of wheel consisting of four rollers mounted at 45-degree angles to the wheel’s hub, each with its own motor that can spin in...
Read MoreThe Quarky Mecanum Wheel Robot features a unique type of wheel consisting of four rollers mounted at 45-degree angles to the wheel’s hub, each with its own motor that can spin in...
Read More| Country of origin | India |
|---|---|
| Colour | multi colour |
| Brand | StemPedia |
| Net Quantity | 1 sets |
| Manufacturer or packer name | Agilo Research Private Limited |
The Quarky Mecanum Wheel Robot features a unique type of wheel consisting of four rollers mounted at 45-degree angles to the wheel’s hub, each with its own motor that can spin in two directions. This wheel design provides exceptional mobility, making it the perfect choice for navigating tight spaces and obstacles. In addition, the mecanum wheel robot can execute sharp turns on the spot without the need to reverse direction.
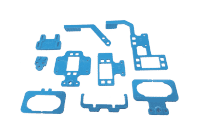
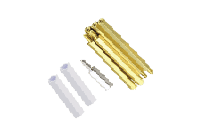
Our kit includes both a book and online resources that cover over 10 projects in detail for the Mecanum Robot. The book provides step-by-step instructions for assembling the rover and programming it using Block & Python coding for various applications.
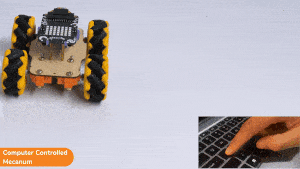
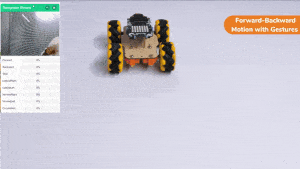
Learn to control the Mecanum with PictoBlox and the keyboard. Move it forward, backward, turn left/right, and move laterally!
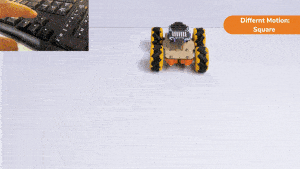
Move your Quarky Mecanum Wheel Robot in a square and axe shape with PictoBlox. Use arrow keys for custom movements.
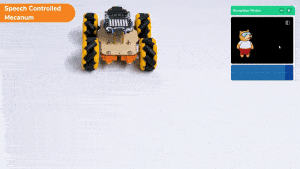
Code Mecanum control by speech recognition. Direct your Mecanum using voice commands.
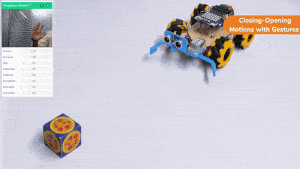
This project uses Machine Learning to make a robot move according to hand gestures.
Create a machine learning model to identify hand poses for controlling the Mecanum Gripper Robot.
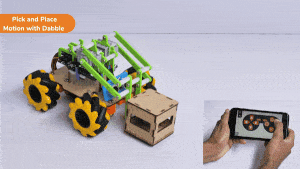
Control Mecanum Pick and Place Robot with Dabble App and custom functions.
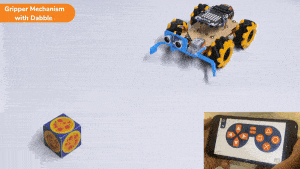
Control Mecanum Gripper Robot with Dabble App and custom functions.
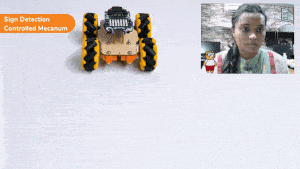
Direct your Mecanum by showing signs through the camera input.
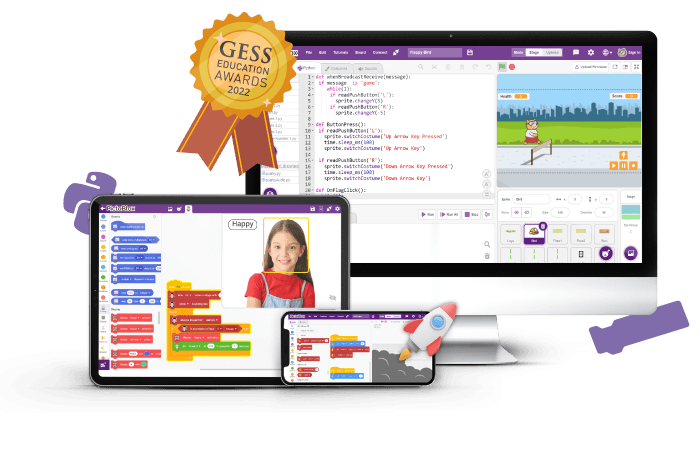
PictoBlox is a creator platform that allows students and teachers to create projects in AI, ML, and robotics. With the ability to code in both Block and Python environments, it's easy to create projects with an array of features.
The Quarky Mecanum Extension makes it simple for you to manage the Quarky Mecanum Robot. It assimilates the Quarky Mecanum controlling block and functions straight into your projects. We have extensively documented the extension to make it easier for you to discover all potential applications of the Quarky Mecanum.
Quarky Addon kits are innovative do-it-yourself (DIY) kits that offer a wide variety of fields to explore, including Humanoid Robots, Mars Rover, Robotic Arm, Internet of Things, and more. Each kit comes fully equipped with all the necessary materials and instructions to create over 10 projects using coding, AI, and robotics. The opportunities to learn are endless.
What kits variations does the Mecanum Robot Kit have?
There are two options available:
Do my kids need any prior knowledge of coding for using Quarky?
No, Quarky is an intuitive learning tool that is suitable for both novice and experienced coders. It is programmed using a graphical programming platform named PictoBlox which allows you to build your project by using Block Coding as well as Python. In addition, the interactive graphical programming interface adds fun to the learning and makes the whole experience even more immersive.
Is there a guide on how to use this?
The kit includes a book and online resources to facilitate learning.
The kit is suitable for students aged 10 and up. Some students with a passionate interest in technology and learning have been able to create projects beyond their age range using the kit.
What if there is a problem with the kit?
You can go through our online documentation for help:
If the problem persists, send us a video of the problem to [email protected]. We will reach out to you to resolve the problem.
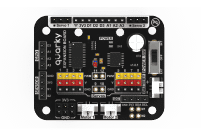
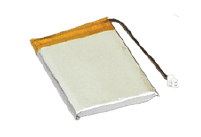
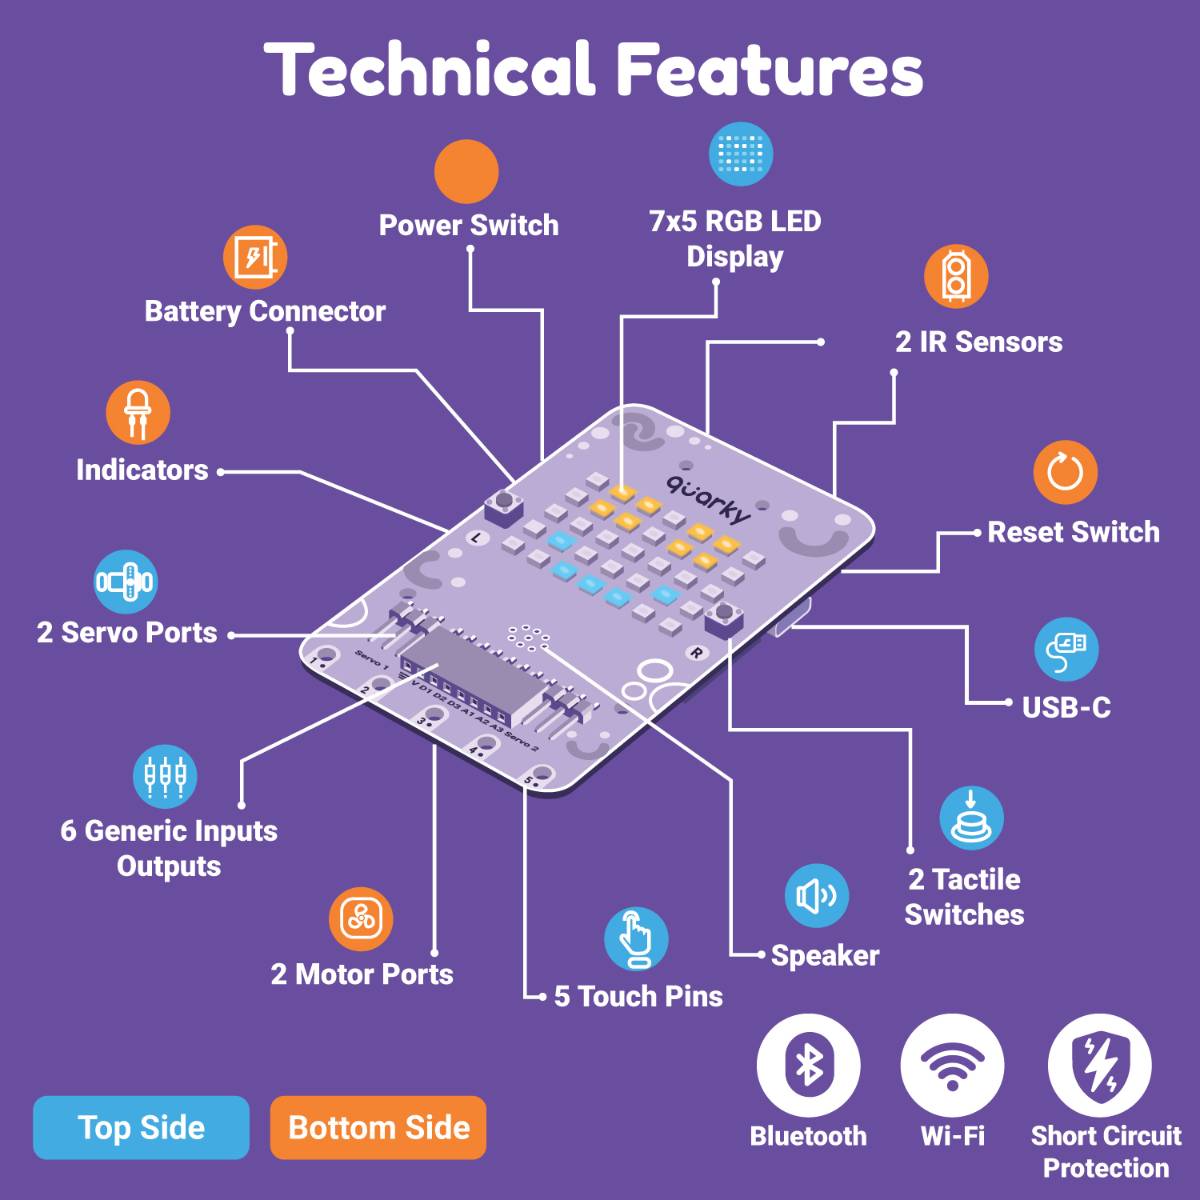
Quarky is a powerful, portable device that allows users to create complex projects with its 3.7V Li–ion battery support, two tactile switches, five capacitive touch sensors, two infrared sensors, and general–purpose input–output pins. It includes 35 programmable RGB LEDs in a 7×5 grid for creating animations, writing text, and displaying patterns, as well as a good-quality speaker for human-like audio or buzzing. Additionally, it has Wi–Fi and Bluetooth compatibility, and multipurpose input/output pins that can be used to interface with any third–party sensors. Quarky also has protections for reverse polarity, overvoltage, and overcurrent.
How do I start using the Mecanum Robot Kit?
You can use the book or go to our learning resources here: https://ai.thestempedia.com/docs/quarky-mecanum-documentation/
To make a project you have to follow these essential steps:
If you face any issues contact us for support here: [email protected]
What is the power source for the robot?
The robot uses the battery that comes with it. Don’t use any other batteries for this robot.
To charge the robot, simply plug in the USB cable to a laptop or adapter and connect it to the designated port on the Quarky board. Make sure the power switch on the robot itself is turned on.
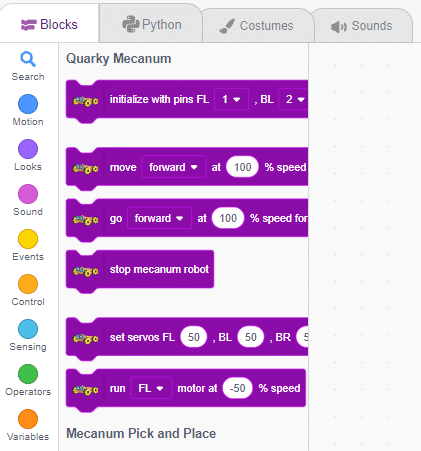
How can I program the Mecanum Robot using Block Coding?
PictoBlox allows users to code Quarky Mecanum Robot with Block Coding. You can follow these instructions:
You can find the detailed tutorial here: https://ai.thestempedia.com/docs/quarky-mecanum-documentation/programming-the-mecanum-robot-with-block-coding-in-pictoblox/
How can I program the Mecanum Robot using Python Coding?
PictoBlox lets you code the Quarky Mecanum Robot using Python. Python is currently available on Windows, MacOS, Linux, and the web version only. It’s not yet available on smartphones, but it will be coming soon.
Follow the steps:
from quarky import *
from expansion_addon import Mecanum
meca = Mecanum(1, 2, 7, 8)
For detailed instructions, visit https://ai.thestempedia.com/docs/quarky-mecanum-documentation/programming-the-quarky-mecanum-with-python-in-pictoblox/.
How do we assemble the Mecanum Robot?
You can either use chapter 2 of the book or follow this tutorial: https://ai.thestempedia.com/docs/quarky-mecanum-documentation/assembling-basic-quarky-mecanum-wheel-robot/
| Country of origin | India |
|---|---|
| Colour | multi colour |
| Material | wood |
| Brand | StemPedia |
| Common name | Toys |
| Net Quantity | 1 sets |
| Package Dimension | 19L x 14.5W x 14H cm |
| Manufacturer or packer name | Agilo Research Private Limited |
| Manufacturer or packer address | 215 Sahajanand Arcade, Helmet Cross, Memnagar, Ahmedabad, Gujarat 380052, India |
| Manufacturing Date | 2025 |
| contact details consumer care | STEMpedia, [email protected] |


